DIY Foam Headboard | How to Create a Custom Upholstered Headboard

When making your custom headboard, it’s important to know which type of foam to buy before you even get started. Using the wrong type of foam may be a setback that you are not prepared for. To avoid this mishap, you will want to look for upholstery foam. Upholstery foam is ideal for use in home furnishings such as sofa cushions and headboards. Medium-density upholstery foams are typically the most popular foam grade for headboards – the depth and spring of the foam are what you need to consider for this project.
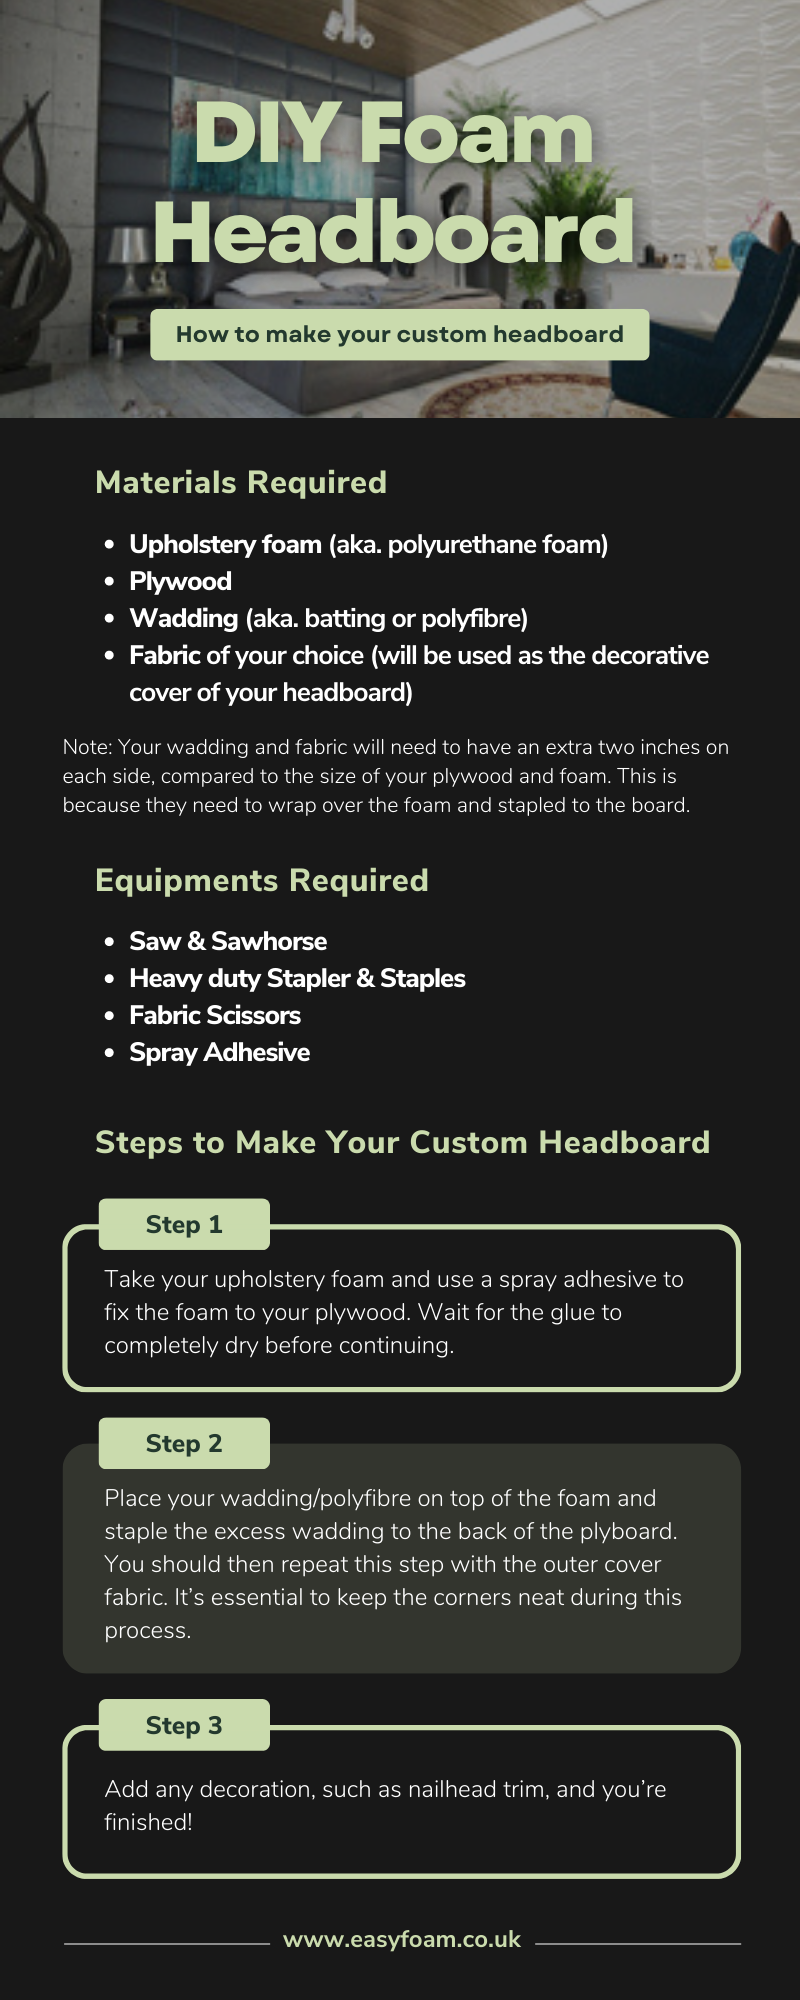
Materials needed to create a custom headboard
1. Upholstery foam – Also known as “polyurethane foam”, a standard foam used in furnishings. 2. Plywood – A hardboard sheet of wood made from multiple layers of veneer. 3. Wadding – A sheet of cotton or similar material that is used for lining quilts and stuffing craft projects, also known as “batting” or "Polyfibre". 4. Fabric – Fabric of your choice will be used as the decorative cover of your headboard. The colour of your upholstery foam, plywood, and wadding doesn’t matter too much, but your outer fabric will be the cover for your new headboard. You’ll be stapling this into place over the foam to attach it to the back of the plywood.
Your wadding and fabric will need to have an extra two inches on each side, compared to the size of your plywood and foam. This is because they need to wrap over the foam and stapled to the board.

Equipments required for making a bespoke headboard
1. Saw & sawhorse – only needed if you’re cutting your own piece of plywood to size. You can buy them pre-cut if preferred. Don’t forget to wear personal protective equipment! 2. A heavy-duty stapler & staples – you’ll be using these to staple your wadding to your plywood. 3. Fabric scissors – to cut your wadding and fabric to size. 4. Spray adhesive – remember to use this outside or in a well-ventilated area.
Provided that you have the plywood and foam cut to size, you’ll be able to get started straight away. If you don’t, you’ll need to size up both pieces and cut your plywood with a saw, while your foam can be ordered cut to size to save you the job of cutting. Alternatively, you could purchase a standard size upholstery foam sheet and cut this down yourself with either some good fabric scissors or, preferable, a utility knife. A utility knife will give you a cleaner cut.
Once everything is cut and sized (don’t forget to trim your wadding and cover fabric), you’re ready to start.
How to make a DIY Foam Headboard in 3 Simple Steps
Step 1: Take your upholstery foam and use a spray adhesive to fix the foam to your plywood. Wait for the glue to completely dry before continuing.
Step 2: Place your wadding/polyfibre on top of the foam and staple the excess wadding to the back of the plyboard. You should then repeat this step with the outer cover fabric. It’s essential to keep the corners neat during this process.
Step 3: Add any decoration, such as nailhead trim, and you’re finished! An easy project for the beginner DIY-er.
To learn more about upholstery foam grades and other upholstery project ideas, contact our friendly team today.

