 The home of cut to size foam
 FAST DELIVERY
 Home
Home


Budget-Friendly Furniture Makeover: Step-by-Step DIY Guide
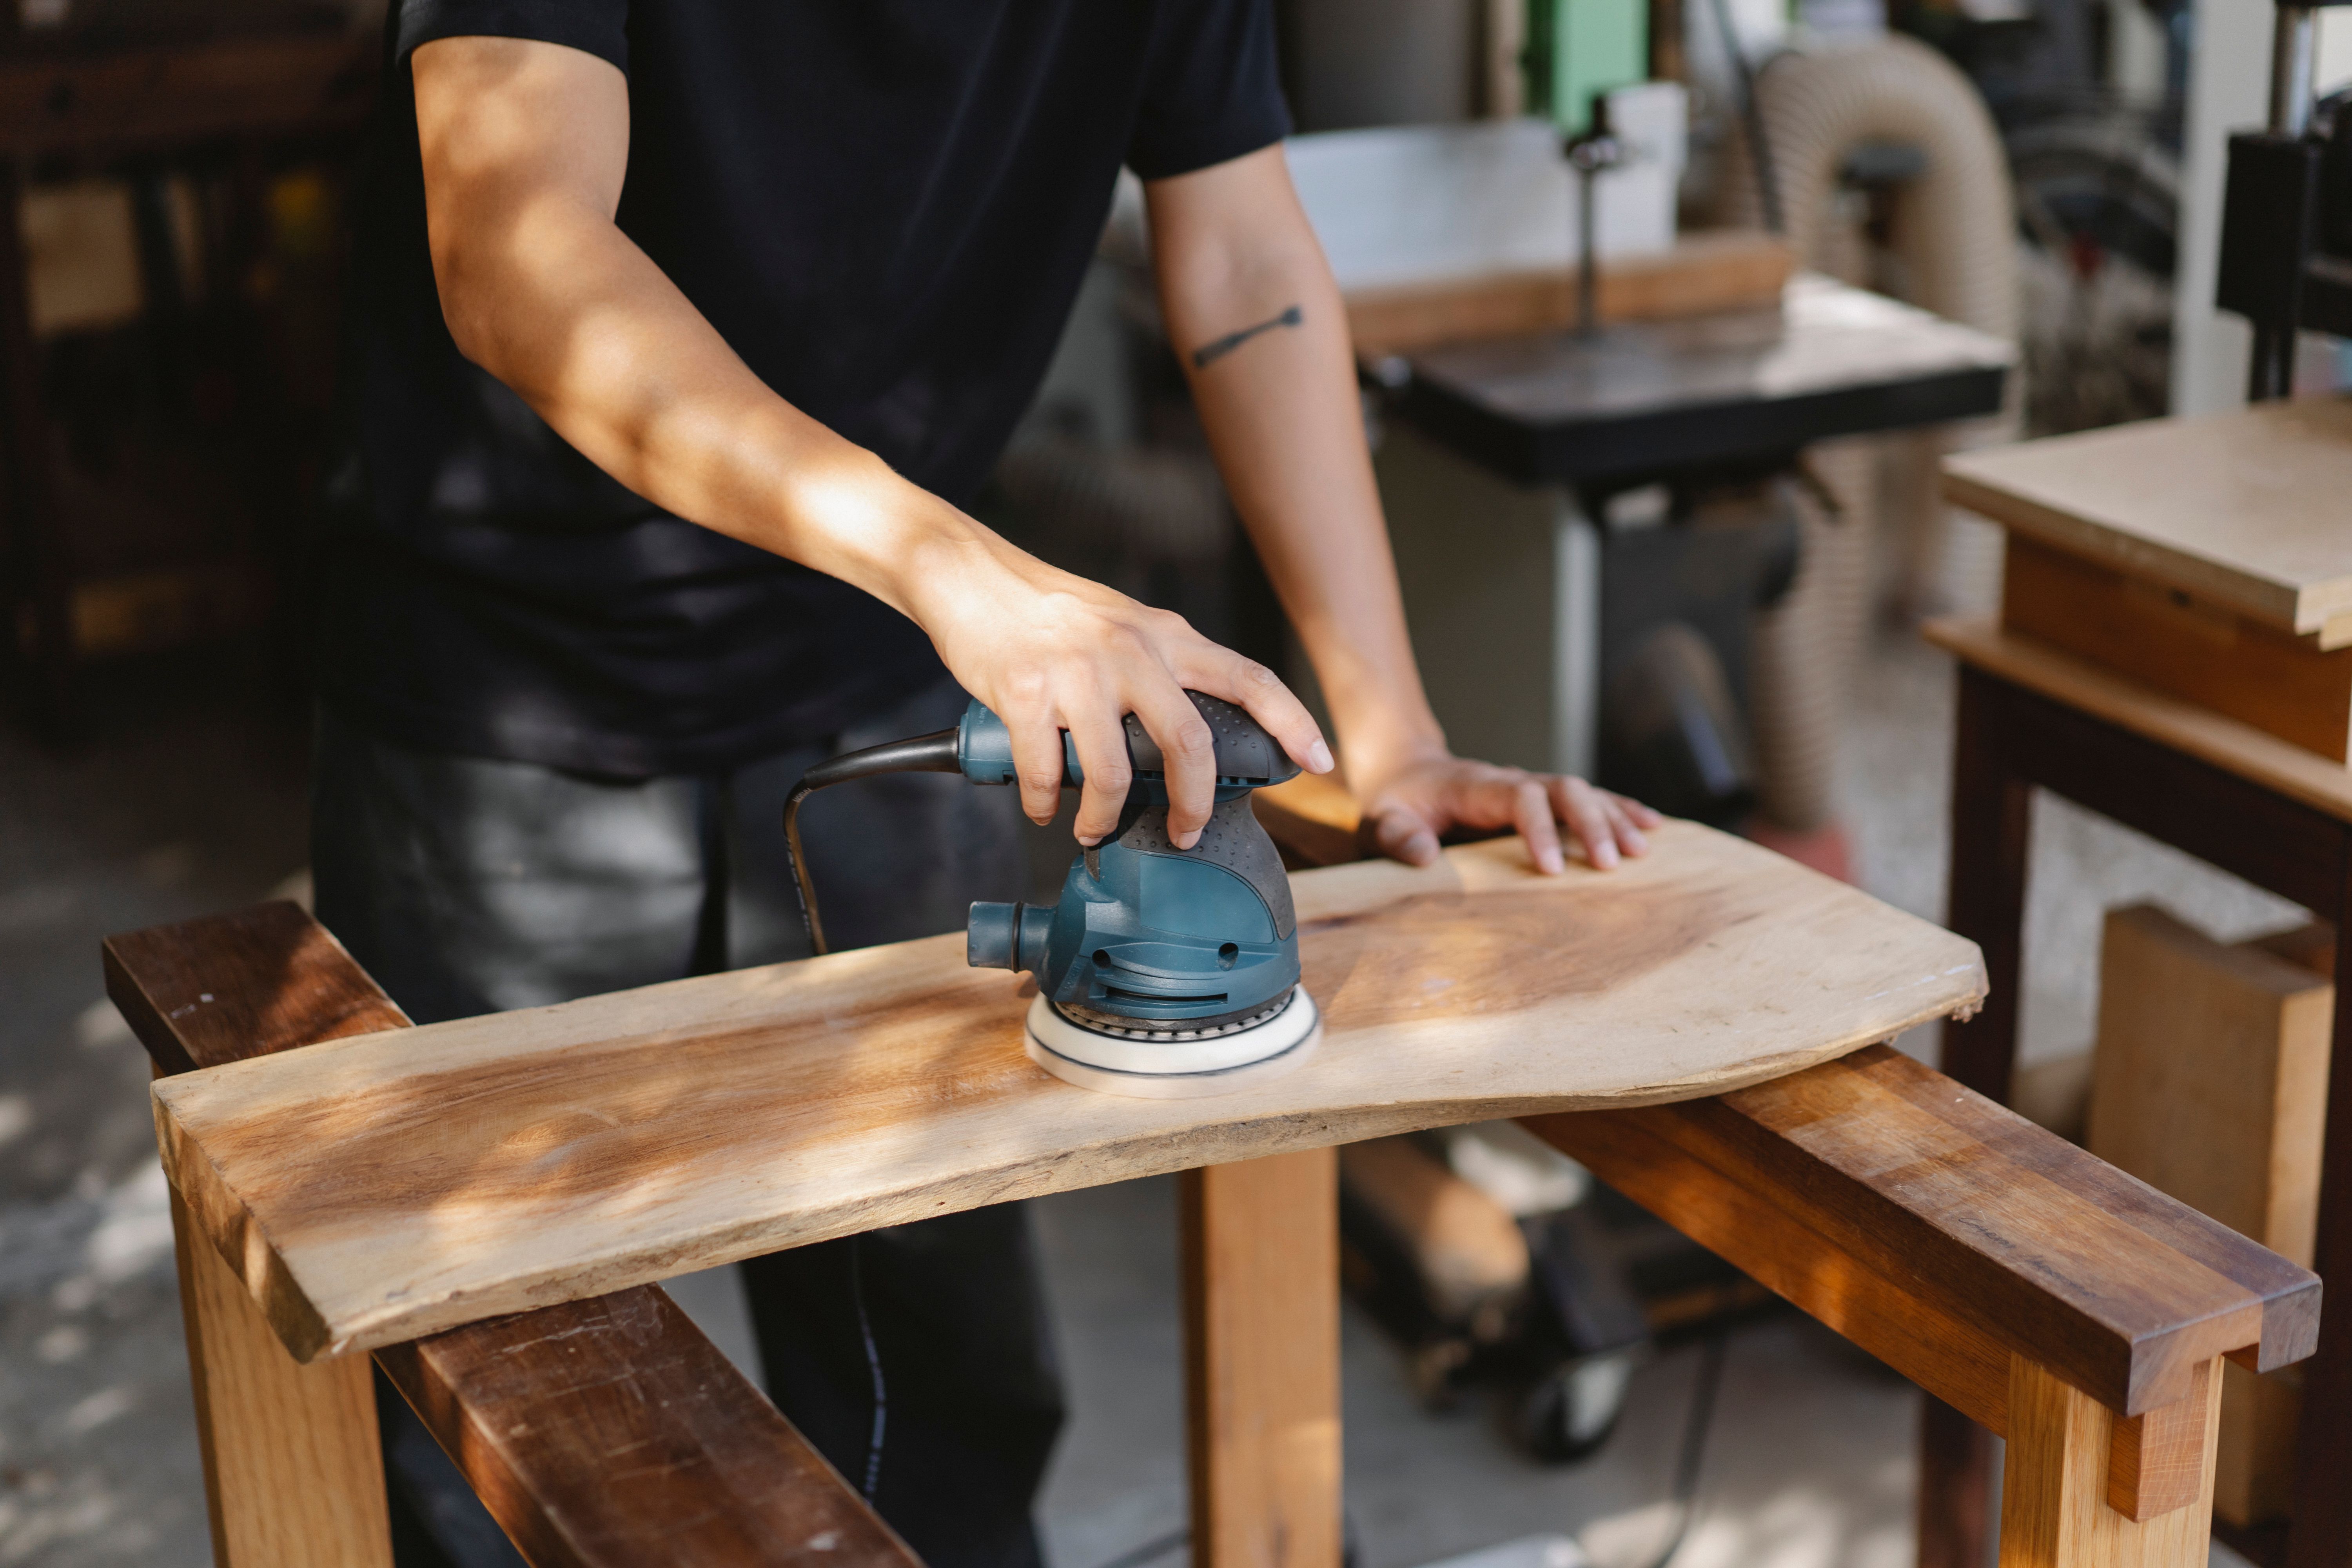
Solid, well-made furniture is expensive to buy new, yet older pieces are often sold for very little or given away entirely. A budget-friendly makeover bridges that gap: with some cleaning, sanding, paint, fresh foam and fabric, a tired piece can become the best-looking item in the room for a fraction of the price of a replacement.
This guide walks through the whole process step by step, from inspecting a piece and setting a budget to sanding, painting, reupholstering and finishing, with practical tips drawn from what actually works.
Why a DIY Furniture Makeover Makes Sense
It saves serious money. Materials for a typical makeover cost a fraction of a new piece of comparable quality, and older furniture is often better built than budget flat-pack alternatives, with solid timber frames and joints designed to last decades.
It is the sustainable choice. Every restored piece is one less item in landfill and one less new item manufactured and shipped. Reupholstering and refinishing keep quality materials in use for another generation.
It gives you something unique. Colour, fabric, finish and hardware are all your choice, so the result fits your room exactly rather than approximately. Pieces with sentimental value, a grandparent's armchair, a first-flat table, keep their history while gaining a new life. And each project teaches skills that make the next one quicker, cheaper and more ambitious.
How to Inspect Your Old Furniture
Assess the piece honestly. Check the frame is solid: wobbly joints can be re-glued, but rot, woodworm or a cracked frame may make a piece more trouble than it is worth. Sit on chairs and sofas, open drawers, and look underneath, where the construction quality shows.
Define the look you want before buying anything: a colour, a fabric style, a finish. A saved photo or two prevents expensive mid-project changes of heart.
Set a budget covering paint, primer, sandpaper, fabric, replacement foam if the seating has softened, and any new hardware. Price the materials before you start; if the total approaches the cost of a good replacement, choose a simpler makeover.
Gather tools and materials: sandpaper in two or three grits, a screwdriver, a staple gun for upholstery work, brushes or a small roller, cleaning cloths and sugar soap. Nothing specialist is needed for a first project.
The Furniture Makeover DIY Process: Step by Step
Step 1: Cleaning and Preparation
Remove drawers, cushions and hardware, then wash every surface with sugar soap or a mild detergent to strip years of polish, grease and grime. Paint and glue only bond well to clean surfaces, so this unglamorous step decides how long the finished result lasts.
Step 2: Sanding
Sand with a medium grit to dull the old finish, then a fine grit to smooth. The aim is a key for the new finish, not bare wood, unless you plan to stain. Wipe away every trace of dust with a barely damp cloth before moving on.
Step 3: Priming
Optional but recommended, especially over dark finishes, knots or previously varnished wood. A coat of primer stops stains bleeding through and means fewer coats of colour.
Step 4: Painting
Two or three thin coats beat one thick one every time. Let each coat dry fully, and sand very lightly between coats for a professional-feeling finish. Water-based furniture paints dry quickly and clean up easily, which suits indoor projects.
Step 5: Reupholstering
For seat pads and cushions, this is where the biggest comfort gain hides. Old foam that has flattened or hardened cannot be revived by new fabric alone, so replace it with new upholstery foam cut to size: a high (firm) grade around 2" thick suits dining chairs, while deeper seats do well at 4" or more. Wrap the new foam, pull the fabric evenly from the centre of each side outwards, and staple underneath, folding the corners like a parcel. Our guides to reupholstering dining chairs and choosing seating foam cover the details.
Step 6: Refinishing
Seal painted surfaces that will see daily use, table tops, chair arms, drawer fronts, with clear wax or a water-based varnish. It deepens the colour slightly and protects against knocks and rings.
Step 7: Finishing Touches and Hardware
New handles, knobs or castors cost little and change the character of a piece completely. This is also the moment for lining drawers, adding felt pads under feet and stepping back to admire the transformation.
Creative Old Furniture Restoration Ideas
A dated sideboard becomes a statement drinks cabinet with a bold colour and brass handles. Odd dining chairs unify into a set with one paint colour and matching seat fabric. A tired ottoman gains a new life with fresh foam and a tailored top. Wooden headboards, blanket boxes and cots can all be padded and upholstered using foam cut to your measurements, turning plain timber into something soft and finished.
Useful Furniture Reupholstering Tips and Tricks
Measure the seat base, not the old squashed foam, and have new foam cut slightly oversize so it fills the cover plumply. Add a stockinette or wadding wrap over the foam for smooth, snag-free fitting. Photograph each stage of disassembly so reassembly is painless, keep every screw in a labelled pot, and always staple opposite sides alternately to keep fabric tension even. When in doubt on foam grade or thickness, ask before you order; the right foam is the difference between a makeover that looks good and one that feels good too.